
One of my favorite family traditions growing up in Virginia was going camping at Douthat State Park. We always started the day with a big breakfast to have lots of energy for swimming and exploring. You knew it was going to be a great morning when you woke up to the grown ups cooking pancakes over the camp stove, but what good are pancakes without butter? My parents always tasked the little ones with making the butter in the morning by shaking a jar of cream for what felt like forever. At the time, this felt like a very serious and important job, but looking back, I think the grown-ups may have created that task to keep the little ones busy for half an hour and wear them out. The pancakes were always delicious though, so you won’t catch me complaining!
We all love butter and we’ve all seen it for sale at the grocery store in perfect little bricks. Less of us have actually tried making it! Making your own butter is surprisingly simple and requires very few ingredients and next to no supplies. It’s a great Virginia Nature Lab experiment for little ones that has a delicious end product and has the added benefit of providing a little exercise for slow summer days!
There’s chemistry behind making butter! If your little one is between 3rd and 5th grade they’ve likely been introduced to the concept of mixtures in their science class. A mixture is a physical combination of two or more substances where each retains its own properties. Examples of mixtures we may see at home are trail mix, saltwater, and salad.
The heavy cream that we are using to make butter is also a mixture! Heavy cream is made up of tiny water droplets, fat droplets, and protein. When the heavy cream is churned, or shaken, the mixture will separate into the solid fat which is our butter, and the liquid containing the protein which is our buttermilk.
Making butter doesn’t have to be difficult! Humans have been making it for thousands of years so we’re going to keep our experiment down to the basics.
Heavy Cream: Butter is often made up of only 1 ingredient – heavy cream! Of course you may choose to add small amounts of salt or other seasonings, but the only non-negotiable is the cream. Heavy cream has a naturally high fat percentage at between 36 to 40 percent fat which is what we need to produce our butter. The word “fat” may sound bad, but remember our bodies need fat for energy and to protect our vital organs. Cream and butter in moderation are amazing natural and healthy fat sources to add to our diet!
Salt (optional): In ancient times before fridges were commonplace, salt was added to butter to preserve it and prevent spoilage. Adding salt today is completely optional and comes down to personal flavor preferences. Just a small pinch is all that you need!
Lidded Jar or Bottle: A clear container is great for making butter with kids since they will be able to visualize the changes to cream goes through before becoming butter! If using a glass container, have kids sit on the ground while shaking to minimize the chance of any accidents. For very little ones it may be safer to use a plastic container.
Strainer: After the solid butter separates from the buttermilk liquid we will be using a strainer to separate them.
Marble (optional): If using a plastic container a marble can be added to the cream mixture during the shaking phase. The marble will speed up the separation process since the cream is now coming into contact with more solid surfaces! Do not shake a marble in a glass jar – we don’t want to break anything!
Making butter is simple! All you need are some common household supplies and a strong pair of arms.
Step 1: Fill your jar halfway with heavy cream and screw the lid on tight.
Step 2: Carefully hold the jar and start shaking it up and down. Try doing it outside for some fresh air, or playing music to make a dance out of it! Encourage your little one to take a break every few minutes and check on their mixture. What do they notice?
Step 3: After about 15-25 minutes you will feel something solid in the jar – that’s our butter! Keep shaking until it becomes a solid lump. The remaining liquid is the buttermilk.
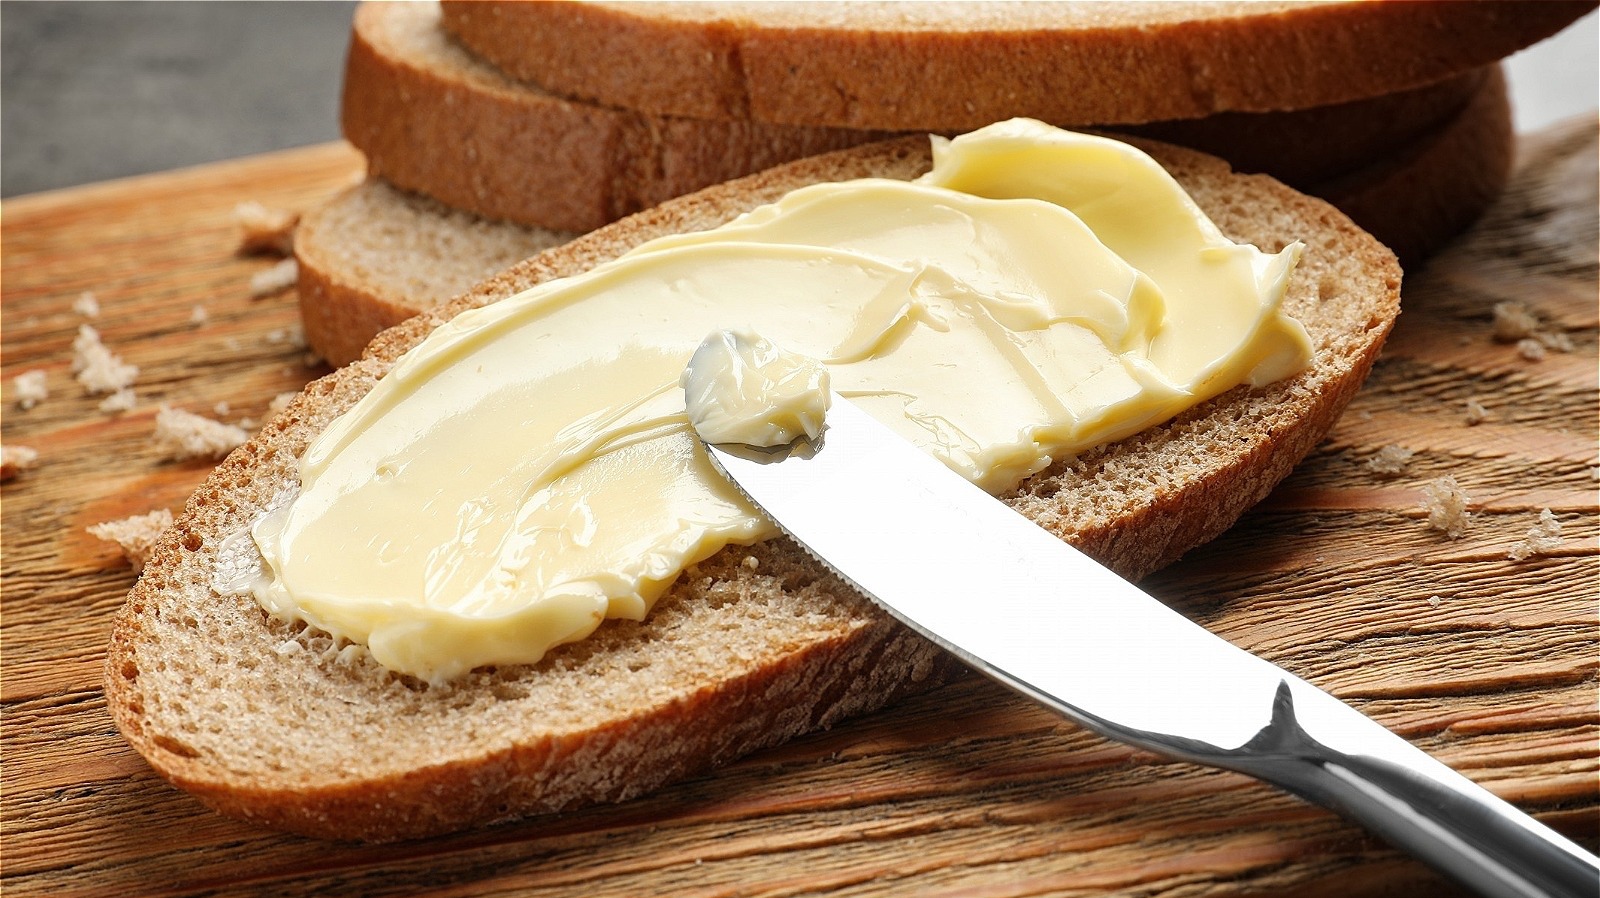
Step 4: Use the strainer to carefully rinse the butter under cold water and squeeze out any remaining liquid. Now it’s ready to use for cooking, baking, or just spreading on warm toast!
This experiment can be altered for older children for them to practice more science concepts!
This is a great experiment for little ones to make connections between an ingredient we use often and the science that goes into making it! More than that it encourages an ingredients based diet and healthy choices. Children will have a much greater sense of pride and excitement using food that they helped to create at home versus processed foods from the store.
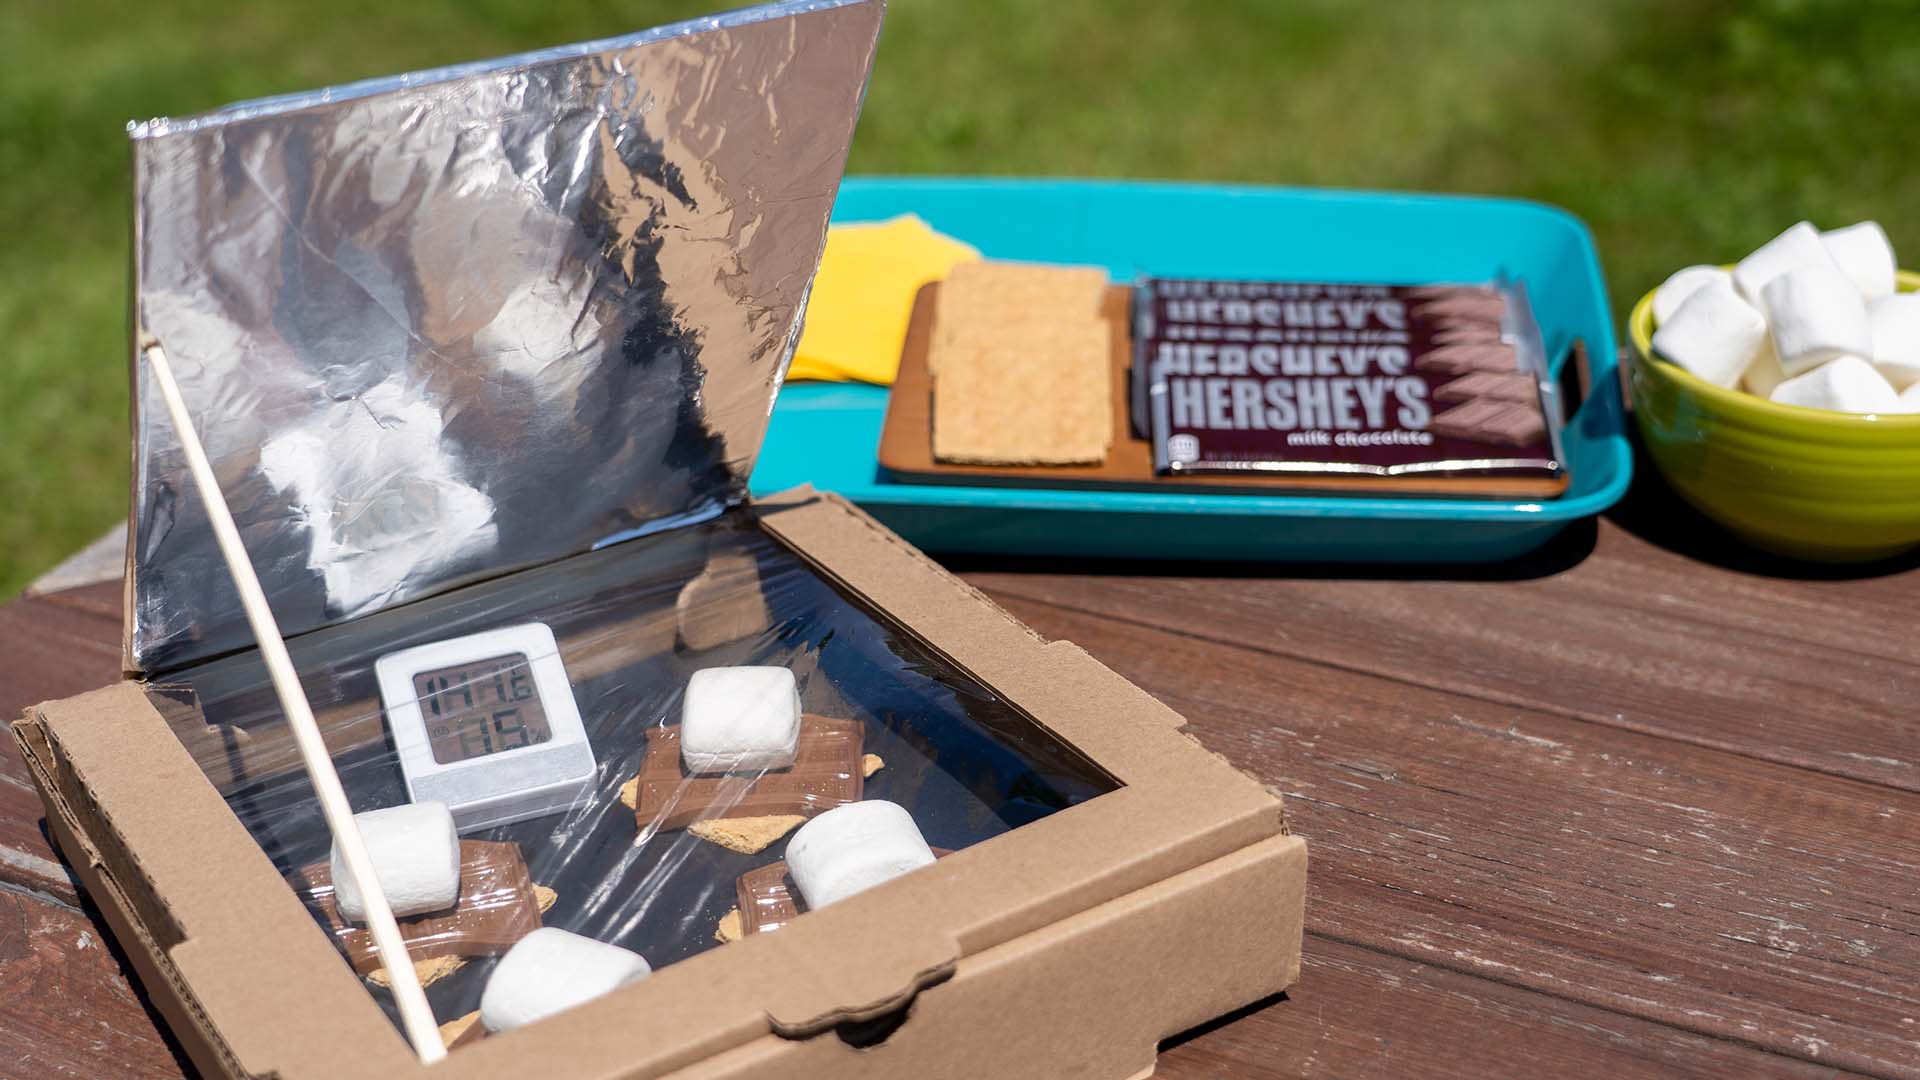
Looking for ways to use your homemade butter? Check out farmer’s markets across Virginia for seasonal produce and locally made bakery items! You might also want to try another Virginia Nature Lab Experiment like making solar oven s’mores, rock collecting throughout Virginia,learn where to go mountain biking with kids in Virginia or explore Southwest Virginia’s most popular parks & playgrounds.

Sign up below to join our mailing list!
Your trusted guide to day and overnight camps
VirginiaSummerCamp.com connects families with summer camps and youth programs across Virginia and the Mid-Atlantic. We’re more than a camp directory—our mission is to help parents raise curious, confident, active kids through expert guidance, research-backed insights, and year-round inspiration.
© 2026 VirginiaSummerCamp.com | © 2026 Zinnia Communications LLC | All Rights Reserved.